Images can make a blog post easier to understand, more attractive to read, and more useful for people who prefer visual answers. But images can also slow a page down, confuse search engines, or miss extra traffic opportunities if they are uploaded without proper optimization. That is why image SEO best practices matter for every blogger, WordPress user, small business owner, and website manager.
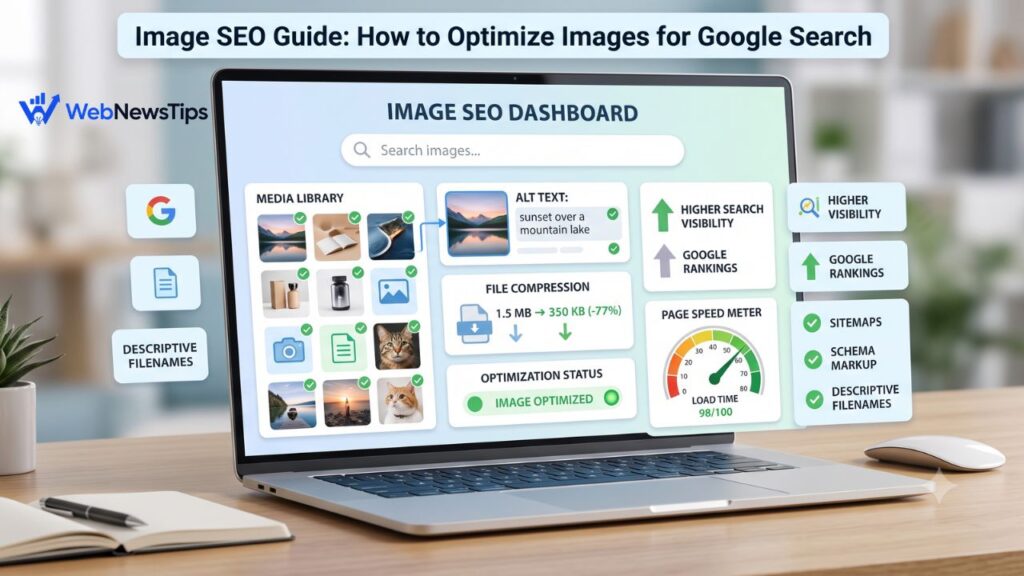
Image SEO is the process of making images easier for Google to discover, understand, load, and display in search results. It is not only about adding alt text. A well-optimized image has a descriptive file name, useful alt text, the right format, proper compression, responsive sizing, strong page context, and technical signals that help search engines index it correctly.
In this guide, you will learn how to optimize images for Google Search in a simple, practical way. The goal is to improve image visibility without making your content robotic, slow, or over-optimized.
Why Image SEO Matters for Google Search
People do not only search with text. They browse Google Images, discover posts through visual previews, and click results when an image helps them understand the page quickly. For many websites, a strong image can be the first reason a visitor notices the content.
Google also uses the page around an image to understand what the image represents. The image file, alt text, caption, heading, article topic, and surrounding paragraph all work together. If your image is placed on a relevant page and described clearly, it has a better chance of appearing for the right searches.
Image optimization also affects user experience. Large uncompressed files can increase page load time, especially on mobile connections. Faster images help pages feel cleaner, lighter, and easier to use. For a stronger overall workflow, connect this article with the on-page SEO checklist on WebNewsTips.
Use Descriptive File Names Before Uploading
A common mistake is uploading images with default names like IMG_2045.jpg, screenshot-1.png, or image-final-final.webp. These names do not explain the subject of the image. A descriptive file name gives search engines a small but useful clue about the visual content.
Before uploading, rename the image in simple lowercase words separated by hyphens. For example, image-seo-alt-text-example.webp is clearer than IMG_7782.jpg. A product photo could be named blue-running-shoes-side-view.webp. A tutorial screenshot could be named wordpress-image-alt-text-field.png.
Keep the name short and natural. Do not stuff the same keyword again and again. If your article targets image seo best practices, one or two related image file names can include that phrase naturally, but every image does not need the exact keyword.
Write Alt Text That Helps Readers and Search Engines
Alt text explains an image when it cannot be seen. Screen readers use it for accessibility, browsers show it when images fail to load, and search engines use it to understand the image in context.
Good alt text should be specific, useful, and connected to the page. Instead of writing image SEO or picture, write: screenshot showing a WordPress image alt text field. Instead of writing shoes shoes shoes, write: blue running shoes with lightweight mesh upper. The second version gives meaning without keyword stuffing.
If an image is purely decorative, it may not need a detailed description. But if the image teaches, explains, compares, or shows a product, the alt text should describe what the visitor needs to know. Ask yourself: what would I say if I had to explain this image to someone who cannot see it?
Compress Images Without Making Them Look Poor
Compression reduces image file size so the page loads faster. The key is balance. If you compress too little, the file may stay heavy. If you compress too much, the image may look blurry or damaged. A good image should be clear enough for users and light enough for the web.
For blog graphics, screenshots, and feature images, try to keep the visual sharp while removing unnecessary weight. Tools such as Squoosh, TinyPNG, ShortPixel, Imagify, or built-in WordPress image optimization plugins can help. The final file size depends on image dimensions and purpose, but many standard blog images can be reduced before uploading.
Always check the image after compression. Text inside screenshots should stay readable. Product details should remain visible. Image SEO is not about making files tiny at any cost. It is about improving speed while keeping quality useful for readers.
Choose the Right Image Format
The image format affects quality, transparency, animation, and file size. JPEG is commonly used for photos because it balances quality and file size. PNG is useful for transparent graphics, logos, and screenshots that need crisp edges. WebP is a modern format that often provides good quality with smaller file sizes. AVIF can be even smaller in many cases, but you should test quality and compatibility before using it everywhere.
For most WordPress blogs, WebP is a strong default choice for feature images and standard blog graphics. JPEG still works well for large photos. PNG should be used when transparency or sharp interface details matter. SVG can be useful for simple icons and logos, but it should be handled carefully and securely.
The best format is the one that keeps the image clear, fast, and compatible with your website setup. Also make sure the file extension matches the real format of the image so browsers and crawlers can process it correctly.
Resize Images to the Display Size
Uploading a very large image and showing it as a small thumbnail wastes bandwidth. For example, if your blog content area displays images at 900 pixels wide, uploading a 4000 pixel wide photo for that same space is usually unnecessary.
Resize images before upload or use your CMS to generate suitable sizes. Feature images, in-content screenshots, product images, and thumbnails may all need different dimensions. This is especially important for mobile visitors, where large desktop-sized images can slow the page.
Responsive images help browsers choose the best image size for each screen. In WordPress, many themes automatically create multiple image sizes, but you should still upload reasonable original files. A good workflow is to crop, resize, compress, and then upload.
Place Images Near Relevant Text
Google does not judge an image only by the image file. It also looks at the page where the image appears. The heading above the image, the paragraph near it, the caption, and the overall topic of the article can all help explain the image.
Place each image close to the section it supports. If a screenshot explains alt text, place it near the alt text section. If a graphic explains compression, place it near the speed or compression section. This helps readers and search engines connect the visual with the right topic.
Captions can also help when they add useful context. You do not need a caption under every image, but if the image explains a step, comparison, data point, or example, a short caption can make it easier to understand.
Use Image Sitemaps and Clean Crawl Paths
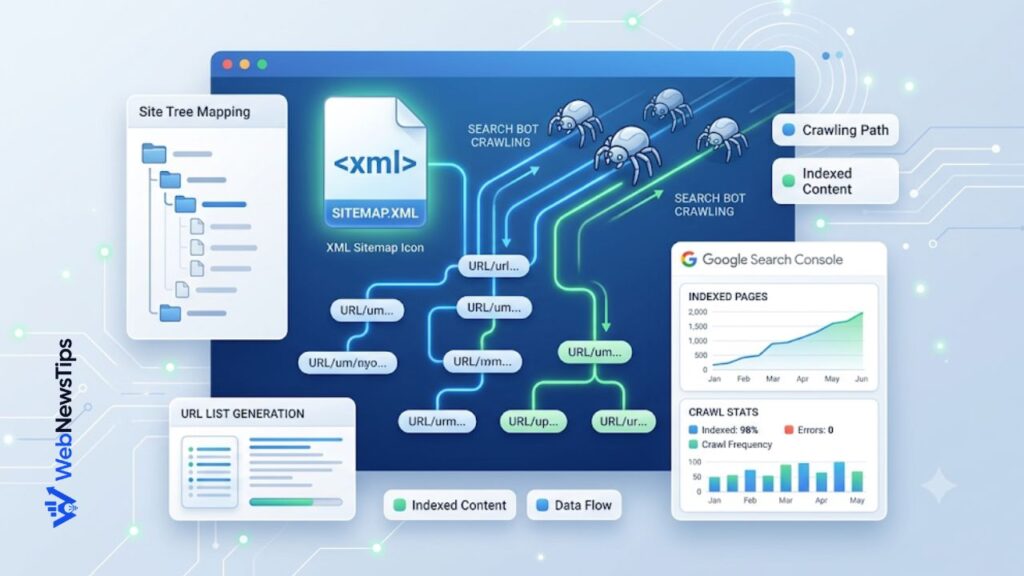
For Google to rank an image, it first needs to discover it. Standard HTML image elements help crawlers find images. Avoid using important images only as CSS backgrounds because they may not be treated the same way as normal content images.
An image sitemap can help Google discover images, especially on larger websites, ecommerce stores, galleries, and pages where images are loaded through scripts. Many SEO plugins can include images in your XML sitemap automatically. If your website has many important visuals, review your sitemap settings and make sure image URLs are included correctly.
Internal links also matter because they help crawlers reach the pages where images live. A useful image on an orphan page may stay hidden. To improve crawl paths, connect related posts and guides using a clear internal linking strategy.
Optimize the Page Around the Image
A well-optimized image cannot carry a weak page by itself. Your title, headings, introduction, body content, URL, and meta description should all match the search intent. If the article is about image optimization, the page should clearly answer questions about file names, alt text, compression, image formats, loading speed, and indexing.
Use the main keyword naturally in the title, introduction, one heading if it fits, and a few relevant places in the content. Avoid repeating image seo best practices in every paragraph. Google is better at understanding context than old exact-match repetition. Helpful writing, clear structure, and complete coverage are more important than forcing the same phrase.
Before publishing, review your headline with the SEO Title Checker, create a clean summary with the Meta Description Generator, and check natural keyword use with the Keyword Density Checker.
Add Structured Data and a Strong Social Image
Structured data can help Google understand the main content type of a page. For blog posts, the image field in BlogPosting schema can identify the main image connected to the article. Open Graph tags, especially og:image, help control how the page appears when shared on social platforms.
Choose a representative image, not a random logo or unrelated stock photo. The image should match the page topic and look clear when cropped into a preview. Avoid extreme aspect ratios that may display badly in thumbnails. For most blog posts, a clean 16:9 or wide feature image works well across websites and social platforms.
If you publish through WordPress, your SEO plugin or theme may handle many of these settings. Still, check the final preview before publishing. The featured image should support the topic, load quickly, and look trustworthy.
Common Image SEO Mistakes to Avoid
The first mistake is uploading large images directly from a camera or design tool without resizing or compression. The second mistake is leaving alt text blank for important images. The third mistake is stuffing alt text with repeated keywords instead of describing the image clearly.
Another mistake is using irrelevant stock photos that do not support the article. A beautiful image that does not match the topic may look nice, but it does not help search intent. Also avoid using text-heavy images as the only way to explain something important. Search engines and screen readers need real text on the page, not only words trapped inside a graphic.
Finally, do not forget old images. If you already have published posts, review the most important pages first. Improve weak alt text, compress oversized images, and add internal links from related guides. For keyword planning, the long-tail keyword guide can help you find image-related questions worth targeting.
Quick Image SEO Checklist
Use this checklist before publishing your next article:
- Rename image files with short, descriptive words.
- Add useful alt text for important images.
- Compress images before uploading.
- Use WebP, JPEG, PNG, SVG, or AVIF based on the image type.
- Resize images to match the display area.
- Place images near relevant headings and paragraphs.
- Add captions when they improve understanding.
- Use a relevant featured image and og:image.
- Make sure image pages are reachable through internal links.
- Review speed with PageSpeed Insights after publishing.
Conclusion
Image SEO is a simple but powerful part of website optimization. When you use descriptive file names, helpful alt text, proper compression, responsive sizing, and relevant page context, your images become easier for Google to discover and easier for visitors to enjoy.
The best approach is not to optimize images only for search engines. Optimize them for real people first. Make them clear, fast, accessible, and useful. Then support them with clean technical settings, internal links, structured data, and strong page content.
If you follow these image SEO best practices consistently, your blog posts can load faster, look better, and gain more chances to appear in Google Search and Google Images.